Account & Settings
Account Setup
Learn how to configure your CheckStatus account settings
Your CheckStatus account is the foundation for all your status pages, team members, and settings. This guide covers how to manage your account configuration.
Accessing Settings
To access your settings, click your profile icon in the top-right corner. You'll see a menu with the following options:
- Profile - Update your personal information
- Password - Change password and manage two-factor authentication
- Billing - Manage your subscription and payment methods
- Accounts - View and switch between accounts
- Sign Out - Log out of your account
Profile Settings
The Profile page lets you manage your personal information.
Updating Your Profile
- Click your profile icon in the top-right corner
- Select Profile
- Update your information:
- Avatar: Upload a profile picture
- Full name: Your display name
- Email: Your email address
- Timezone: All times will be displayed in your selected timezone
- Color theme: Choose Light, Dark, or Sync with system
- Click Update
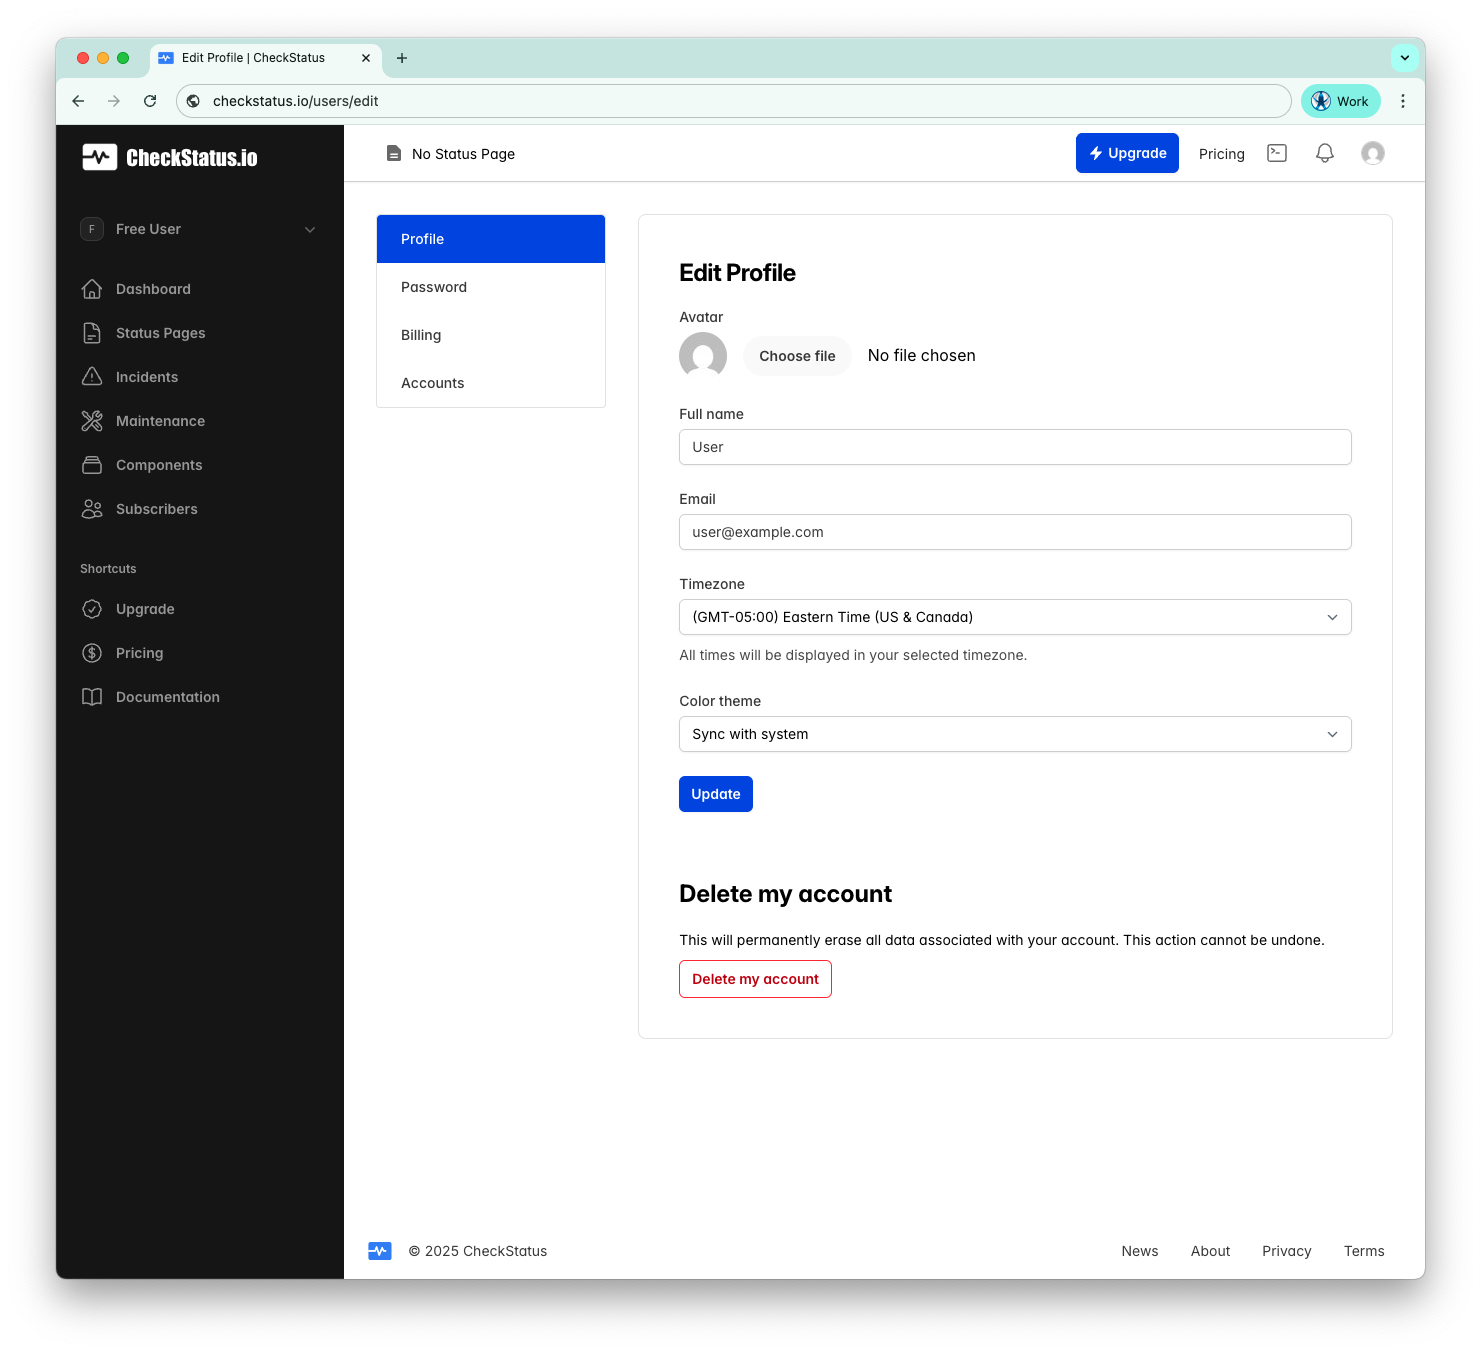
Deleting Your Account
To permanently delete your account:
- Go to Profile
- Scroll to the Delete my account section at the bottom
- Click Delete my account
- Confirm the deletion
Warning: This will permanently erase all data associated with your account. This action cannot be undone.
Password & Security
The Password page lets you update your password and enable two-factor authentication.
Changing Your Password
- Click your profile icon in the top-right corner
- Select Password
- Enter your Current password
- Enter your New password
- Enter Confirm new password
- Click Update
Two-Factor Authentication
Protect your account with two-factor authentication (2FA):
- Go to Password
- Click Enable two-factor authentication
- You'll see your Backup Codes - download, print, or copy these before continuing
- Click Next
- Scan the QR code with your authenticator app (like Authy, Google Authenticator, or 1Password)
- Enter the six-digit code from your app
- Click Verify
Important: Store your backup codes securely. You'll need them to access your account if you lose your authenticator device.
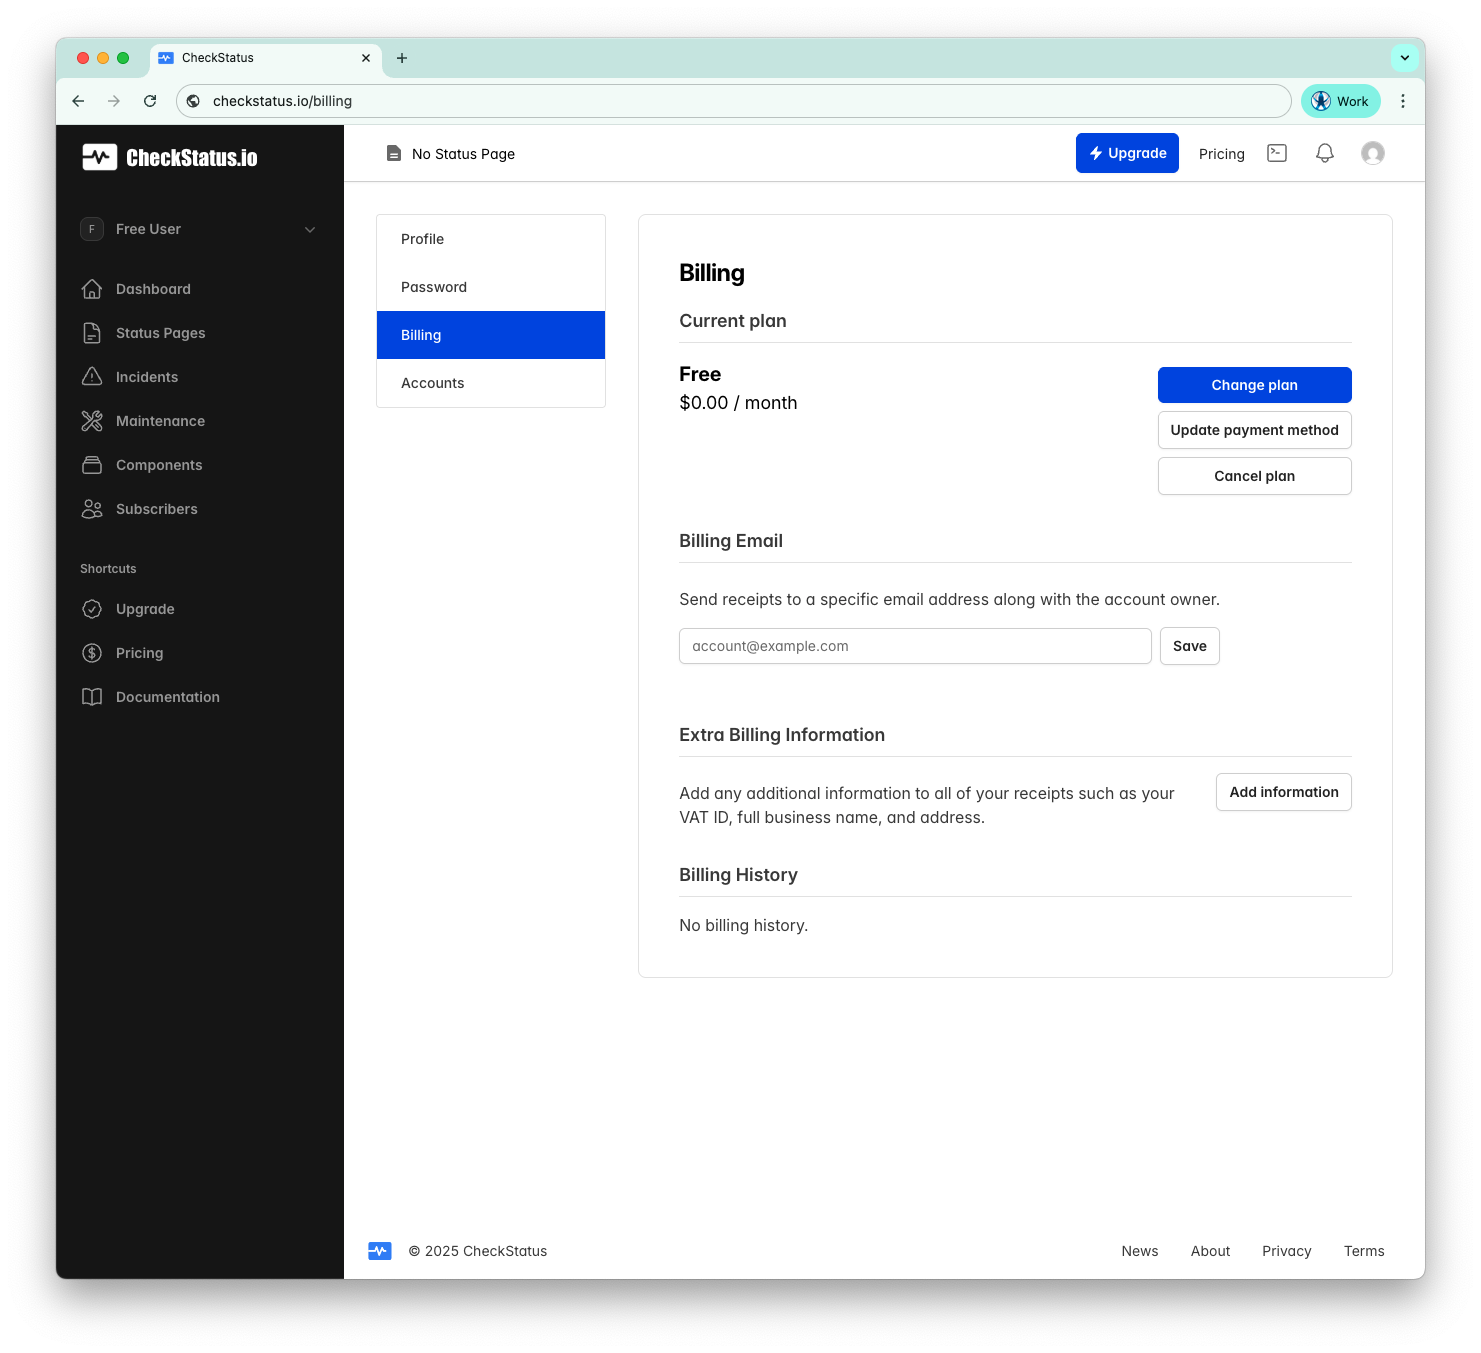
Billing
The Billing page shows your subscription and payment information.
Current Plan
View your current plan and pricing. From here you can:
- Change plan: Upgrade or downgrade your subscription
- Update payment method: Add or change your credit card
- Cancel plan: Cancel your subscription
Billing Email
Send receipts to a specific email address in addition to the account owner:
- Enter the email address in the Billing Email field
- Click Save
Extra Billing Information
Add additional information to all of your receipts such as your VAT ID, full business name, and address:
- Click Add information
- Enter your billing details
- Save your changes
Billing History
View all past invoices and payments in the Billing History section.
Accounts
CheckStatus uses accounts to organize your status pages, team members, and billing. Each account operates independently with its own subscription.
About Accounts
- Each account has separate billing and can collaborate with team members
- Create new accounts that start on the Free plan with their own billing details
- Switch between accounts if you belong to multiple teams or organizations
Viewing Your Accounts
- Click your profile icon in the top-right corner
- Select Accounts
- View all accounts you belong to
- Your current account is marked with a Current Account badge
Creating a New Account
- Go to Accounts
- Click Create an Account
- Enter the account name
- The new account starts on the Free plan
Note: Each user can own a maximum of 5 accounts. This limit applies to accounts you own, not accounts you've been invited to as a team member.
Switching Accounts
There are two ways to switch between accounts:
- From the sidebar: Click the account switcher at the top of the sidebar (shows your current account name) and select a different account
- From Accounts settings: Go to Accounts and click on any account in the list
Each account has its own:
- Status pages
- Team members
- Subscription and billing
- Settings
Managing an Account
- Click on an account to view its details
- Click Edit Account to change the account name or transfer ownership
- View and manage Team Members from this page
Team Members
From the account details page, you can manage team members:
- View the current member count (e.g., "1 of 2 team members")
- See each member's roles (Owner, Admin, Member)
- Click Edit to change a member's role
- Click Invite A User to add new team members
Learn more about team management →
Plan Limits
Each plan has different limits:
| Feature | Free | Starter | Growth | Pro |
|---|---|---|---|---|
| Status Pages | 1 | 1 | 3 | 10 |
| Components per Page | 5 | 20 | 50 | 150 |
| Team Members | 2 | 5 | 10 | 100 |
| Subscribers | 50 | 500 | 1,000 | 5,000 |
| Monthly Incidents | 30 | Unlimited | Unlimited | Unlimited |
| Data Retention | 90 days | 1 year | 2 years | Unlimited |
Usage Tracking
CheckStatus tracks your usage against plan limits. When you approach a limit, you'll see a warning banner. If you exceed a limit, some features may be restricted until you upgrade or reduce usage.
Related Topics
- Team Management - Invite and manage team members
- Branding - Customize your status page appearance
- Notifications - Configure notification settings